Work with checklists
1
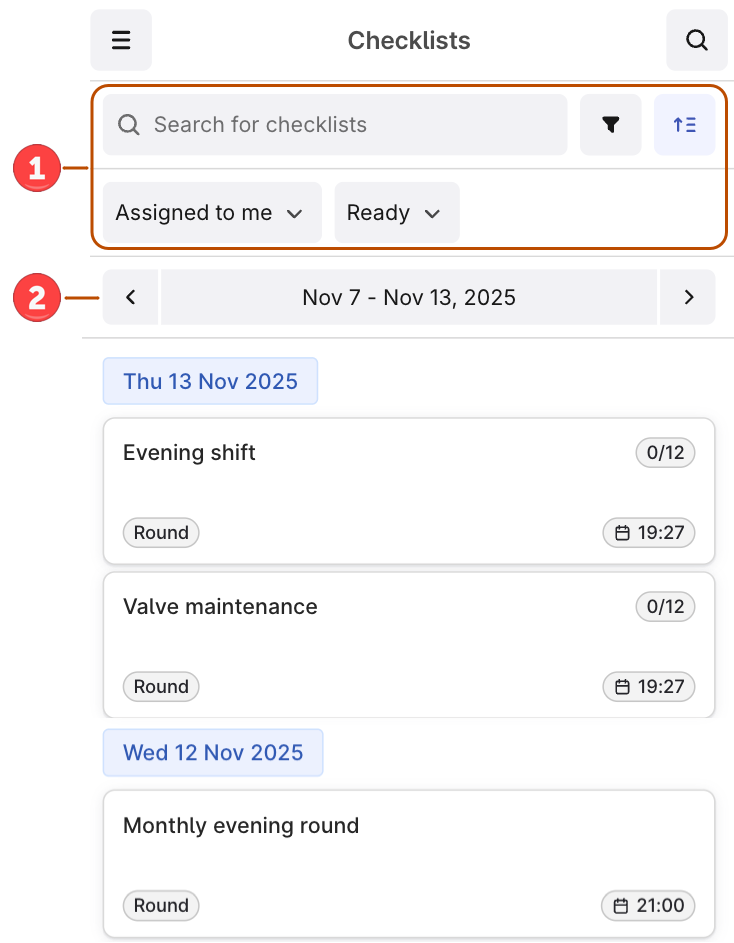
Select a checklist
Select a checklist from the list. By default, you see Ready checklists assigned to you and your discipline.
2
Enter measurement values
Enter any measurement values your supervisor has requested. Once you start working on the checklist, the status changes from Ready to In progress.
3
Optional. Respond to requests
Respond to the supervisor’s request by selecting an action button, for example, Low, Normal, High, or Open, Closed.
4
Set task status
For each task, select OK or a different status from Other.If you want to bulk change the statuses of the remaining tasks, select More options (…) > Set remaining tasks to and select the status. You can do that for the tasks in the group and outside the group and only once.
5
Add media or observations
Select + to add images and videos, enter text, or create observations. Fill out the Observations form if an asset requires a closer look, for example, due to malfunctions.
6
Mark checklist as done
When you’ve completed all tasks, set the checklist to Done. You can no longer update it.
Create checklists
To create checklists from templates on your mobile device:1
Navigate to Templates
On the left panel, select Templates. You’ll see the list of Ready templates assigned to you.
2
Create checklist from template
Select the template you want to create a checklist from and select Create checklist. The assignee is the person who created the checklist.
3
Start working or create more
Start working on the checklist or go back to create more checklists.
Explore assets
To see information linked to an asset, such as 3D images, documents, time series, or other assets, search for the asset or select an asset ID displayed as a blue link.- Select the search icon to search for assets, time series, or documents.
- Select the search icon > Hierarchy to find equipment linked to the asset you’re working with.