Create a client secret in Microsoft Entra ID
1
Sign in to the Azure portal
Sign in to the Azure portal as an admin.
2
Select a tenant
If you have access to multiple tenants, use the Directory + subscription filter in the top menu to select the tenant in which you want to register an application.
3
Select Microsoft Entra ID
Search for and select Microsoft Entra ID.
4
Navigate to New registrations
Under Manage, select App registrations > New registrations.
5
Register an application
In the Register an application window, enter the app name, and then select Register.
6
Select name and type
Specify the name and select the supported account types.
7
Copy the Application (client) ID
Copy and make a note of the Application (client) ID. This value is required for authentication.
8
Create a client secret
- Under Manage, select Certificates & secrets > New client secret.
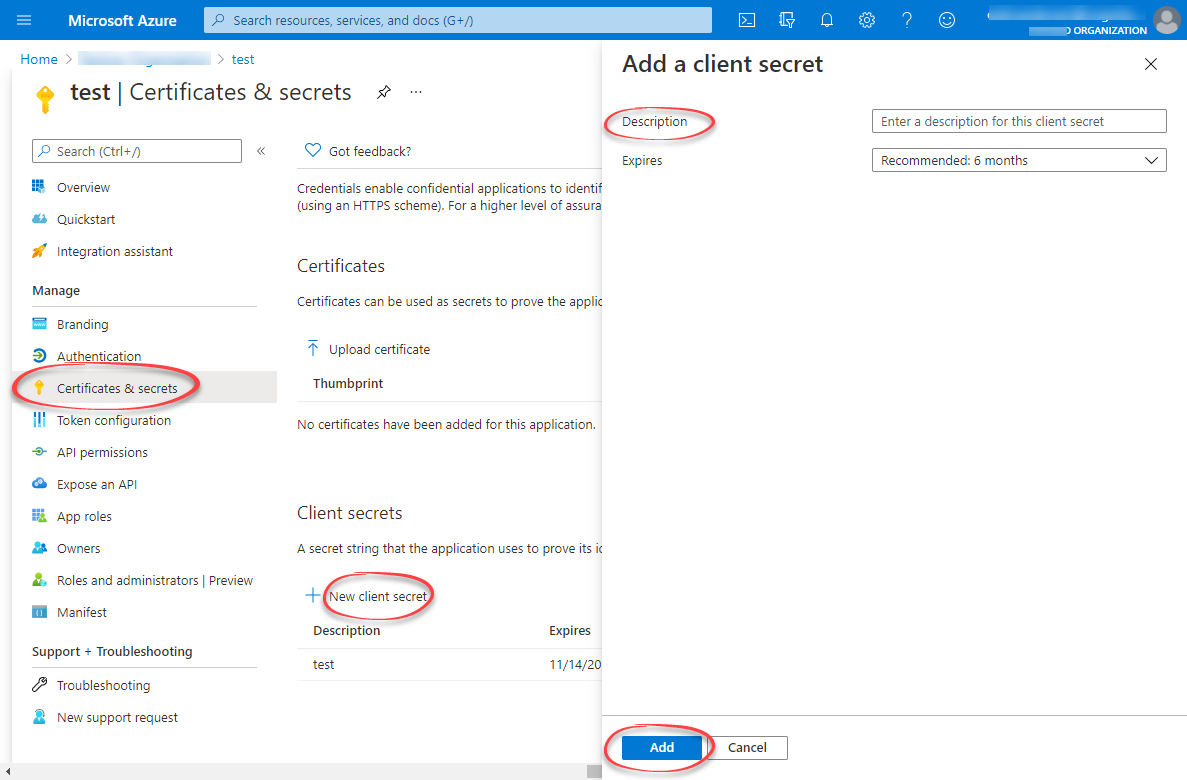
- Enter a client secret description and an expiry time, and then select Add.
9
Copy the client secret
Copy and make a note of the client secret in the Value field.
Add the service principal to a CDF group
1
Navigate to Microsoft Entra ID group
To add the service principal, navigate to your Microsoft Entra ID group.
2
Navigate to Add members
Under Manage, select Members > Add members.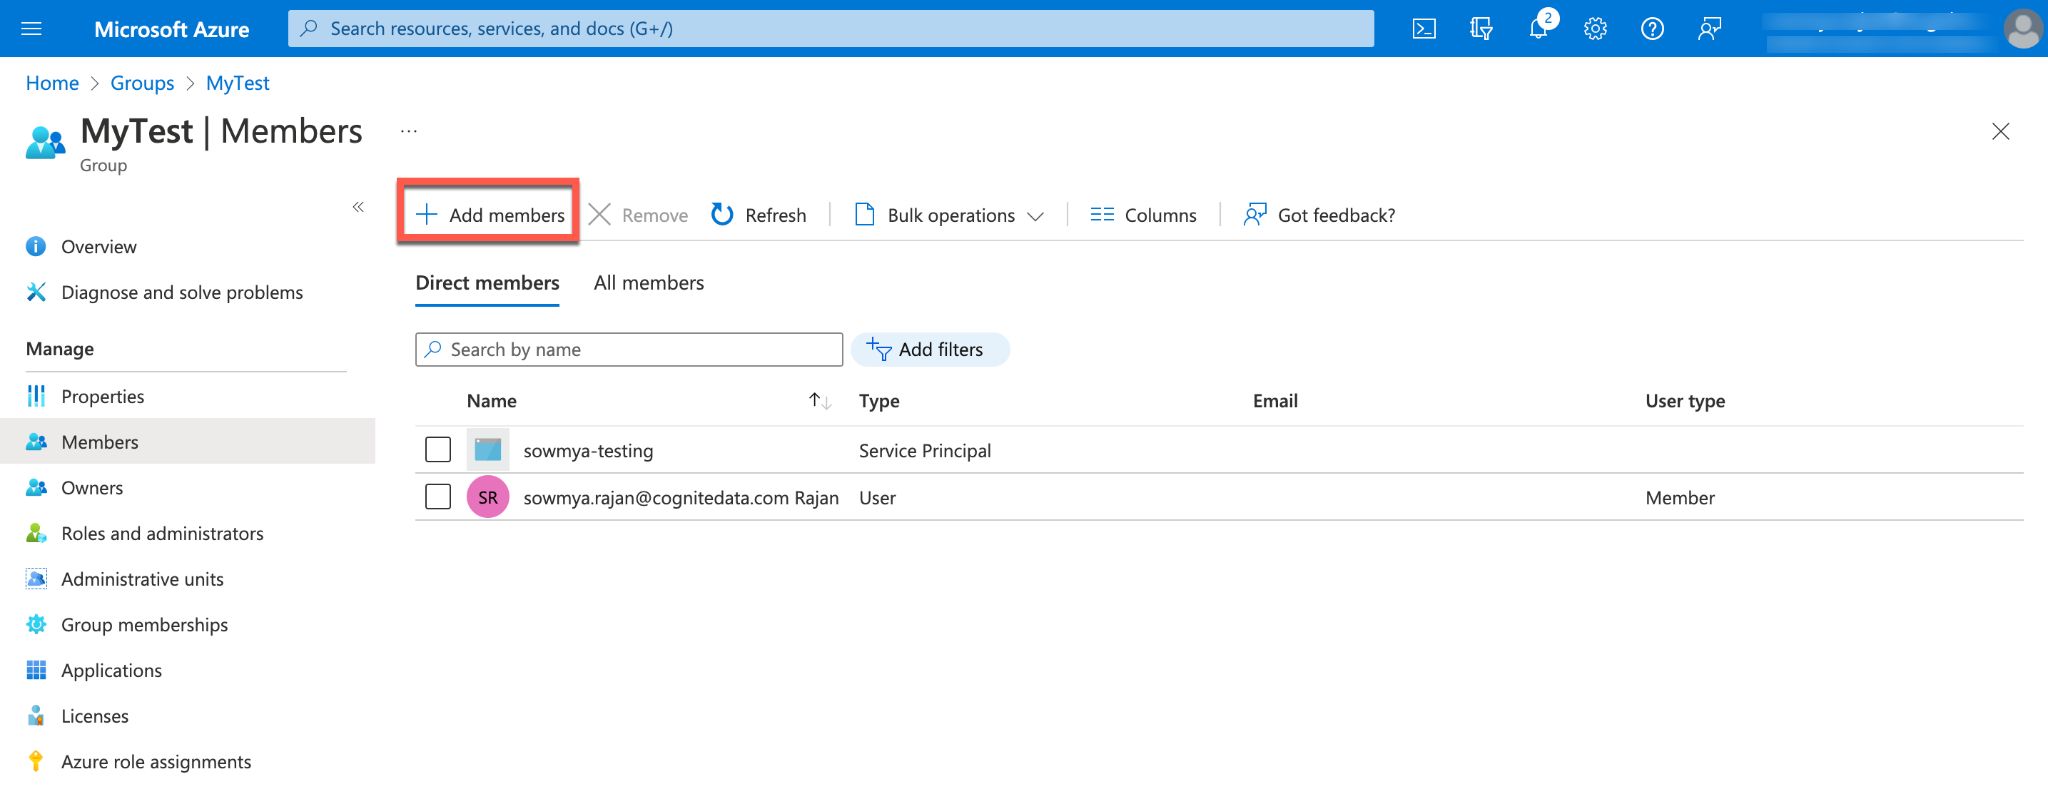
3
Add members
Search for your service principal in the search box and Select.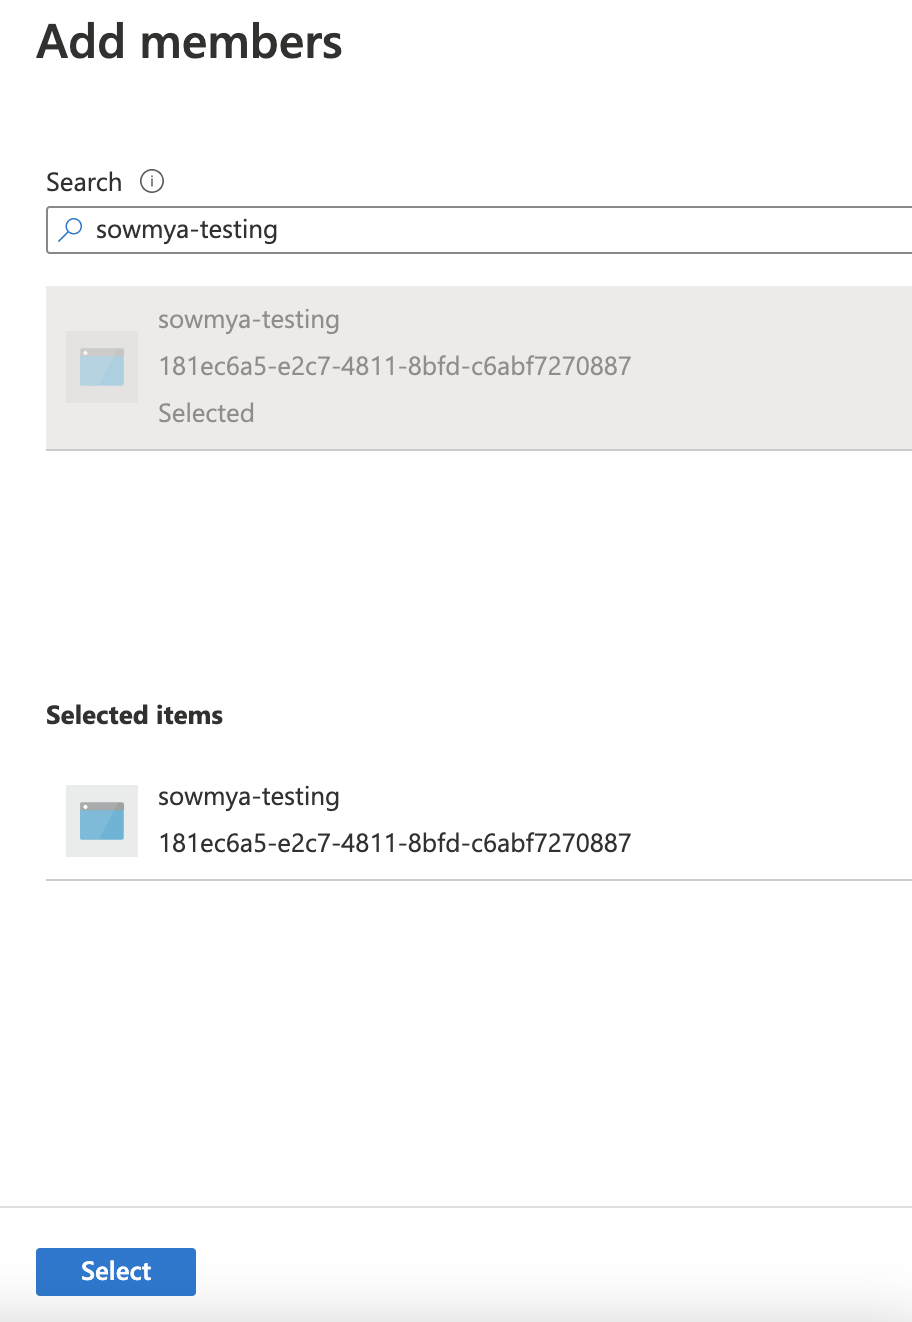
4
Verify members added
Verify that the service principal is added to your Microsoft Entra ID group.The service principal, as a member of the Microsoft Entra ID group, is automatically a member of the linked CDF group with the associated capabilities.