Setting up Azure DevOps Pipelines with the Cognite Toolkit
The guide will help you use the Cognite Toolkit in Azure DevOps Pipelines so that you can automate the deployment of your modules with version control.
Add pipelines to your repository
- In a terminal, run these commands and select Azure DevOps as the CI/CD provider to create a folder with example pipelines:
git switch -c add-ado-pipelines
cdf repo init
The example pipelines are created in a .devops folder.
-
Adapt the pipelines to your needs, and then commit the changes to a new branch and push it to your repository:
git add .devops
git commit -m "Adding Toolkit pipelines"
git push -u origin add-ado-pipelines -
Create a pull request to merge the branch into main.
Enable a pipeline that validates new pull requests (CI)
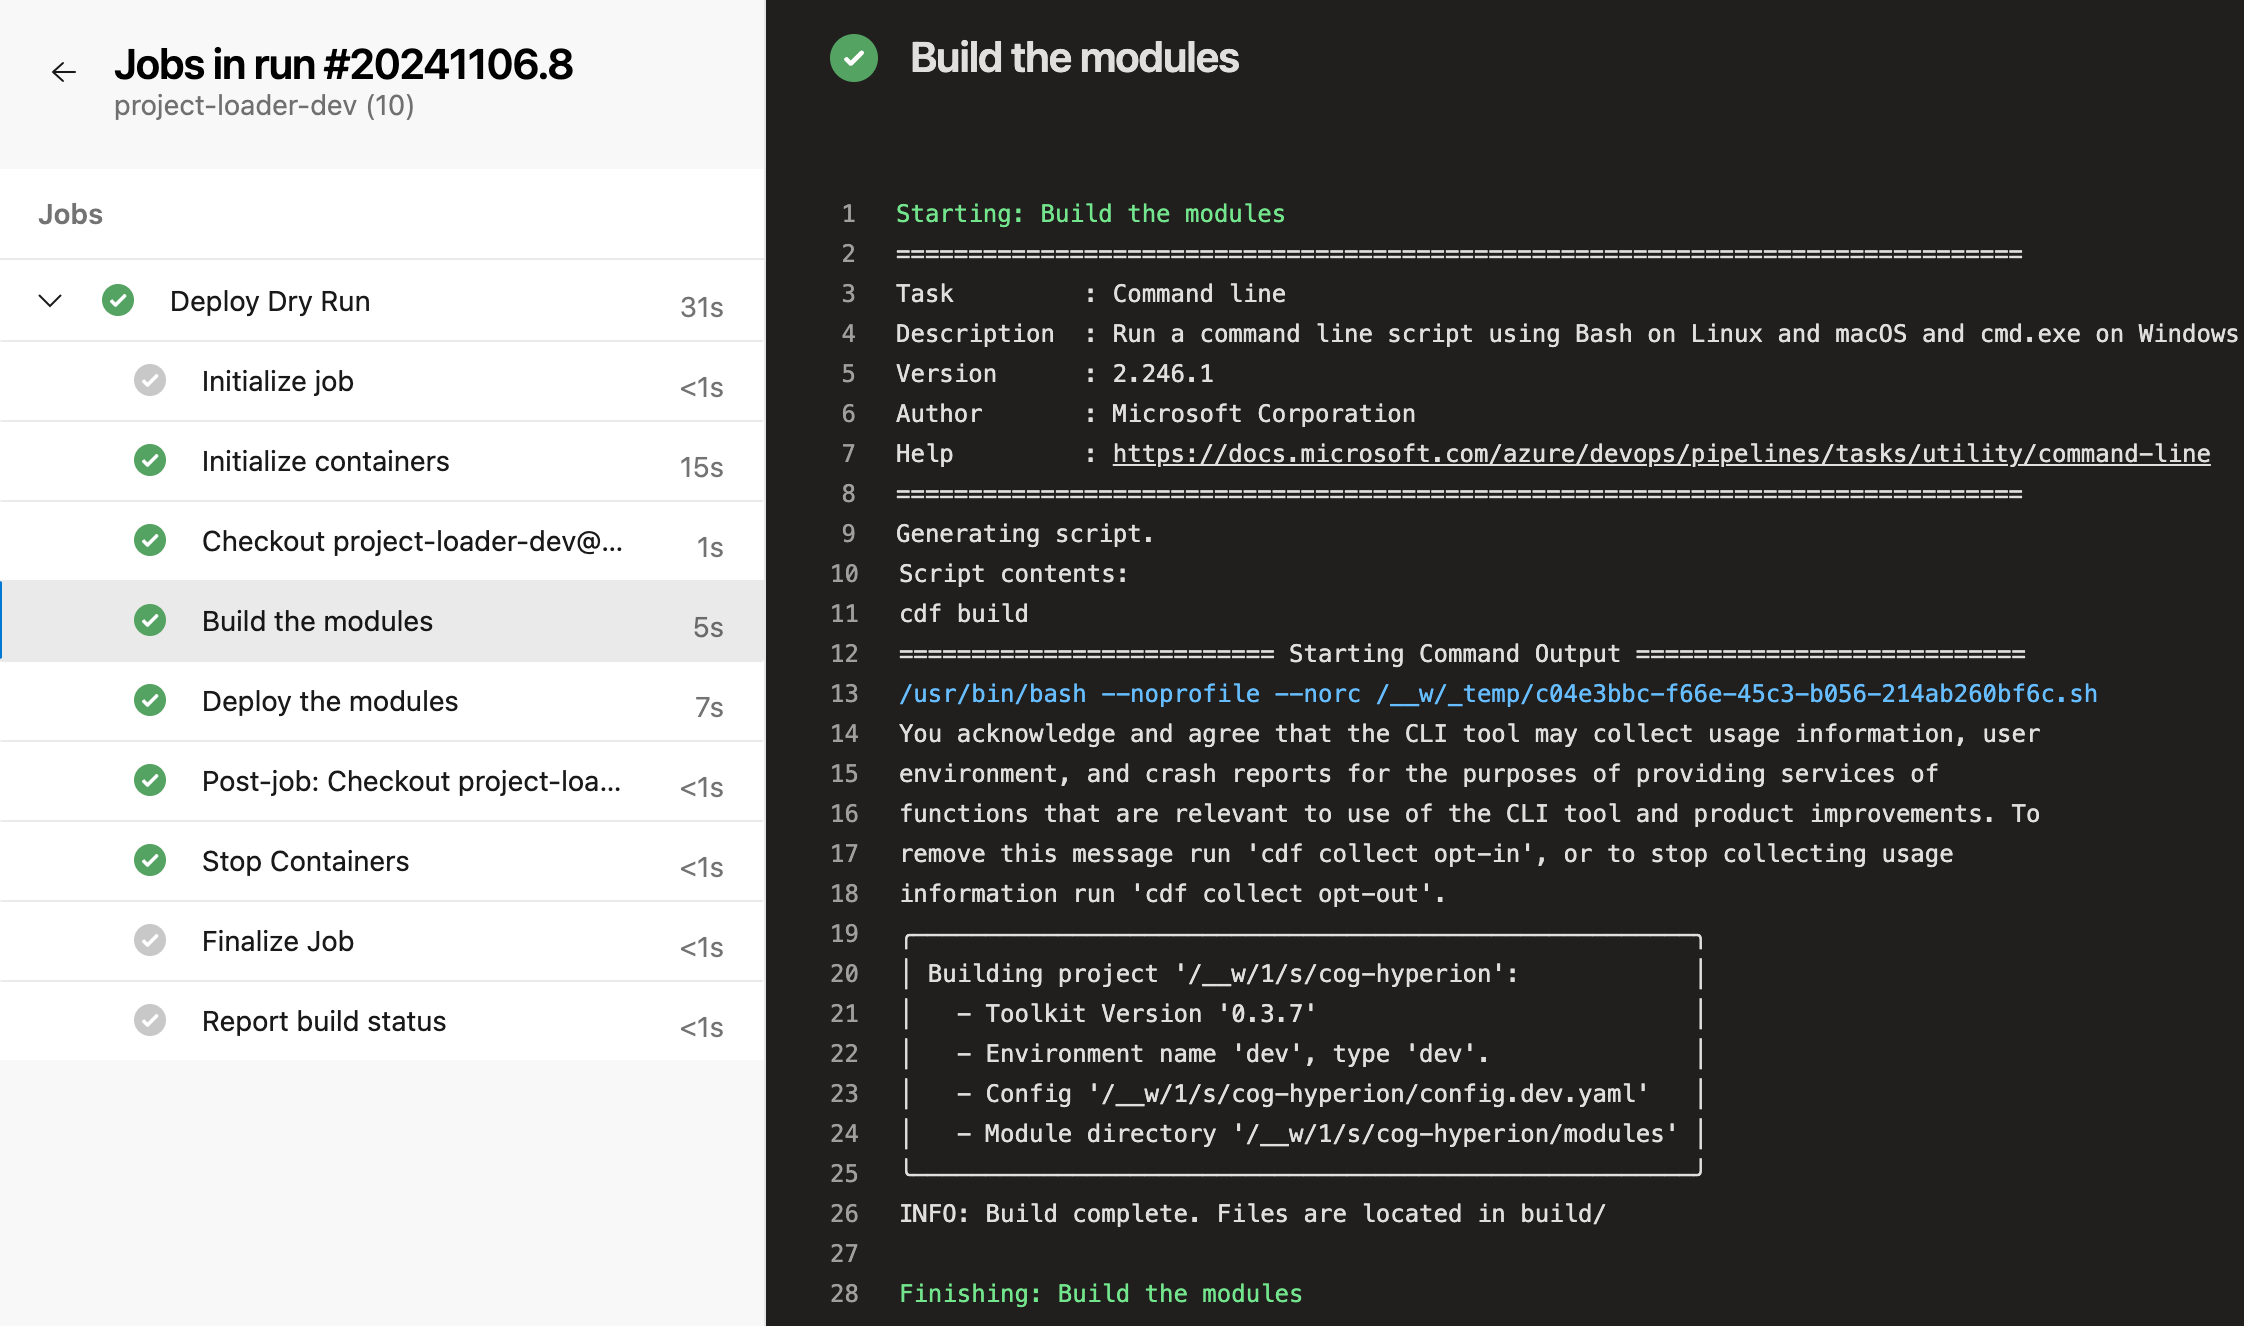
We recommend that you run an automatic check on pull requests to ensure that the module is valid before merging it into the main branch. Follow these steps:
Step 1: Create a dry-run pipeline
-
In your DevOps project, go to "Pipelines"
-
Click "New pipeline"
-
Select the repository you pushed the changes to
-
Select Existing Azure Pipelines YAML file
-
Branch: main
-
Path:
./devops/dry-run-pipeline.yml
-
-
Click Save (alternative to Run button)
-
In the overview, click the three dots and select "Rename/move" to set a descriptive name, for example "Pull request checks".
Step 2: Create variable groups for the dev environment
- In your DevOps project, navigate to Pipelines > Library.
- Select + Variable group.
- Create a variable group with the name
dev-toolkit-credentials. - Select Pipeline permissions and select the pipelines that should have access to the variable group.
- Enter these variables with the correct values for your environment:
- CDF_CLUSTER
- CDF_PROJECT
- LOGIN_FLOW: (client_credentials)
- IDP_CLIENT_ID
- IDP_CLIENT_SECRET (important: mark as secret with the padlock symbol)
- IDP_TOKEN_URL (if you're not using Entra ID)
Step 3: Add the check pipeline to the branch policy
-
In your DevOps project, navigate to Repos > Branches.
-
Click the three dots next to the main branch and select Branch policies.
-
Click the
+on Build Validation. -
Select the pipeline you created in step 1.
Make sure to set 1 as the minimum numbers of reviewers.
All new pull requests will require a build and dry-run to succeed before merging.
Automatically deploying modules (CD)
To deploy modules automatically, create a pipeline that builds and deploys the modules when changes are pushed to a specific branch, typically main:
Step 1: Create a deployment pipeline
- In your DevOps project, navigate to Pipelines.
- Select New pipeline.
- Select the repository.
- Select Existing Azure Pipelines YAML file, and specify:
- Branch: main
- Path:
./devops/deploy-pipeline.yml
- Select Save (alternative to the Run button.)
Step 2: Create variable groups for the target environment
- In your DevOps project, navigate to Pipelines > Library.
- Select + Variable group.
- Create a variable group with the name
dev-toolkit-credentials - Select Pipeline permissions and select the pipelines that should have access to the variable group.
- Enter these variables with the correct values for your environment:
- CDF_CLUSTER
- CDF_PROJECT
- LOGIN_FLOW: (client_credentials)
- IDP_CLIENT_ID
- IDP_CLIENT_SECRET (important: mark as secret with the padlock symbol)
- IDP_TOKEN_URL (if not using Entra ID)
The pipeline will now deploy the modules automatically when changes are pushed to the main branch.

Troubleshooting
I get an error in the 'Deploy the modules' step
If you get the following error: authlib.auth2.rfc6749.errors.InsecuretransportError: OAuth 2 MUST utilize https.,
you may have configured your environment variables incorrectly. Make sure that you have set the
all the environment variables correctly in step 2.