> ## Documentation Index
> Fetch the complete documentation index at: https://docs.cognite.com/llms.txt
> Use this file to discover all available pages before exploring further.
# Staging
> Stream or batch-extract data into the Cognite Data Fusion (CDF) staging area (RAW) and use the RAW explorer to profile and view data quality.
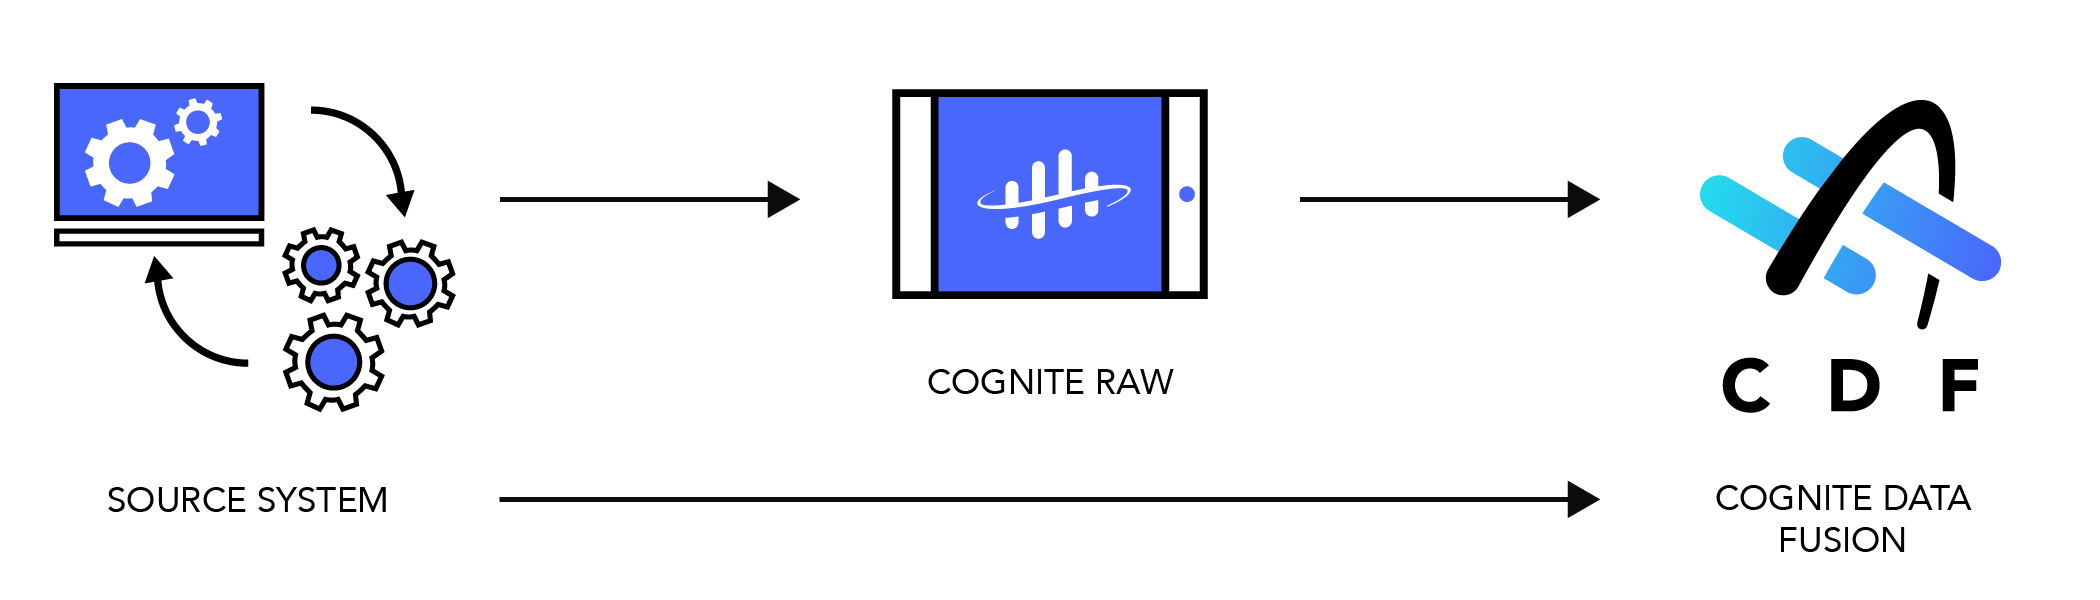
You can stream or batch-extract data into the Cognite Data Fusion (CDF) staging area, called **CDF RAW**.
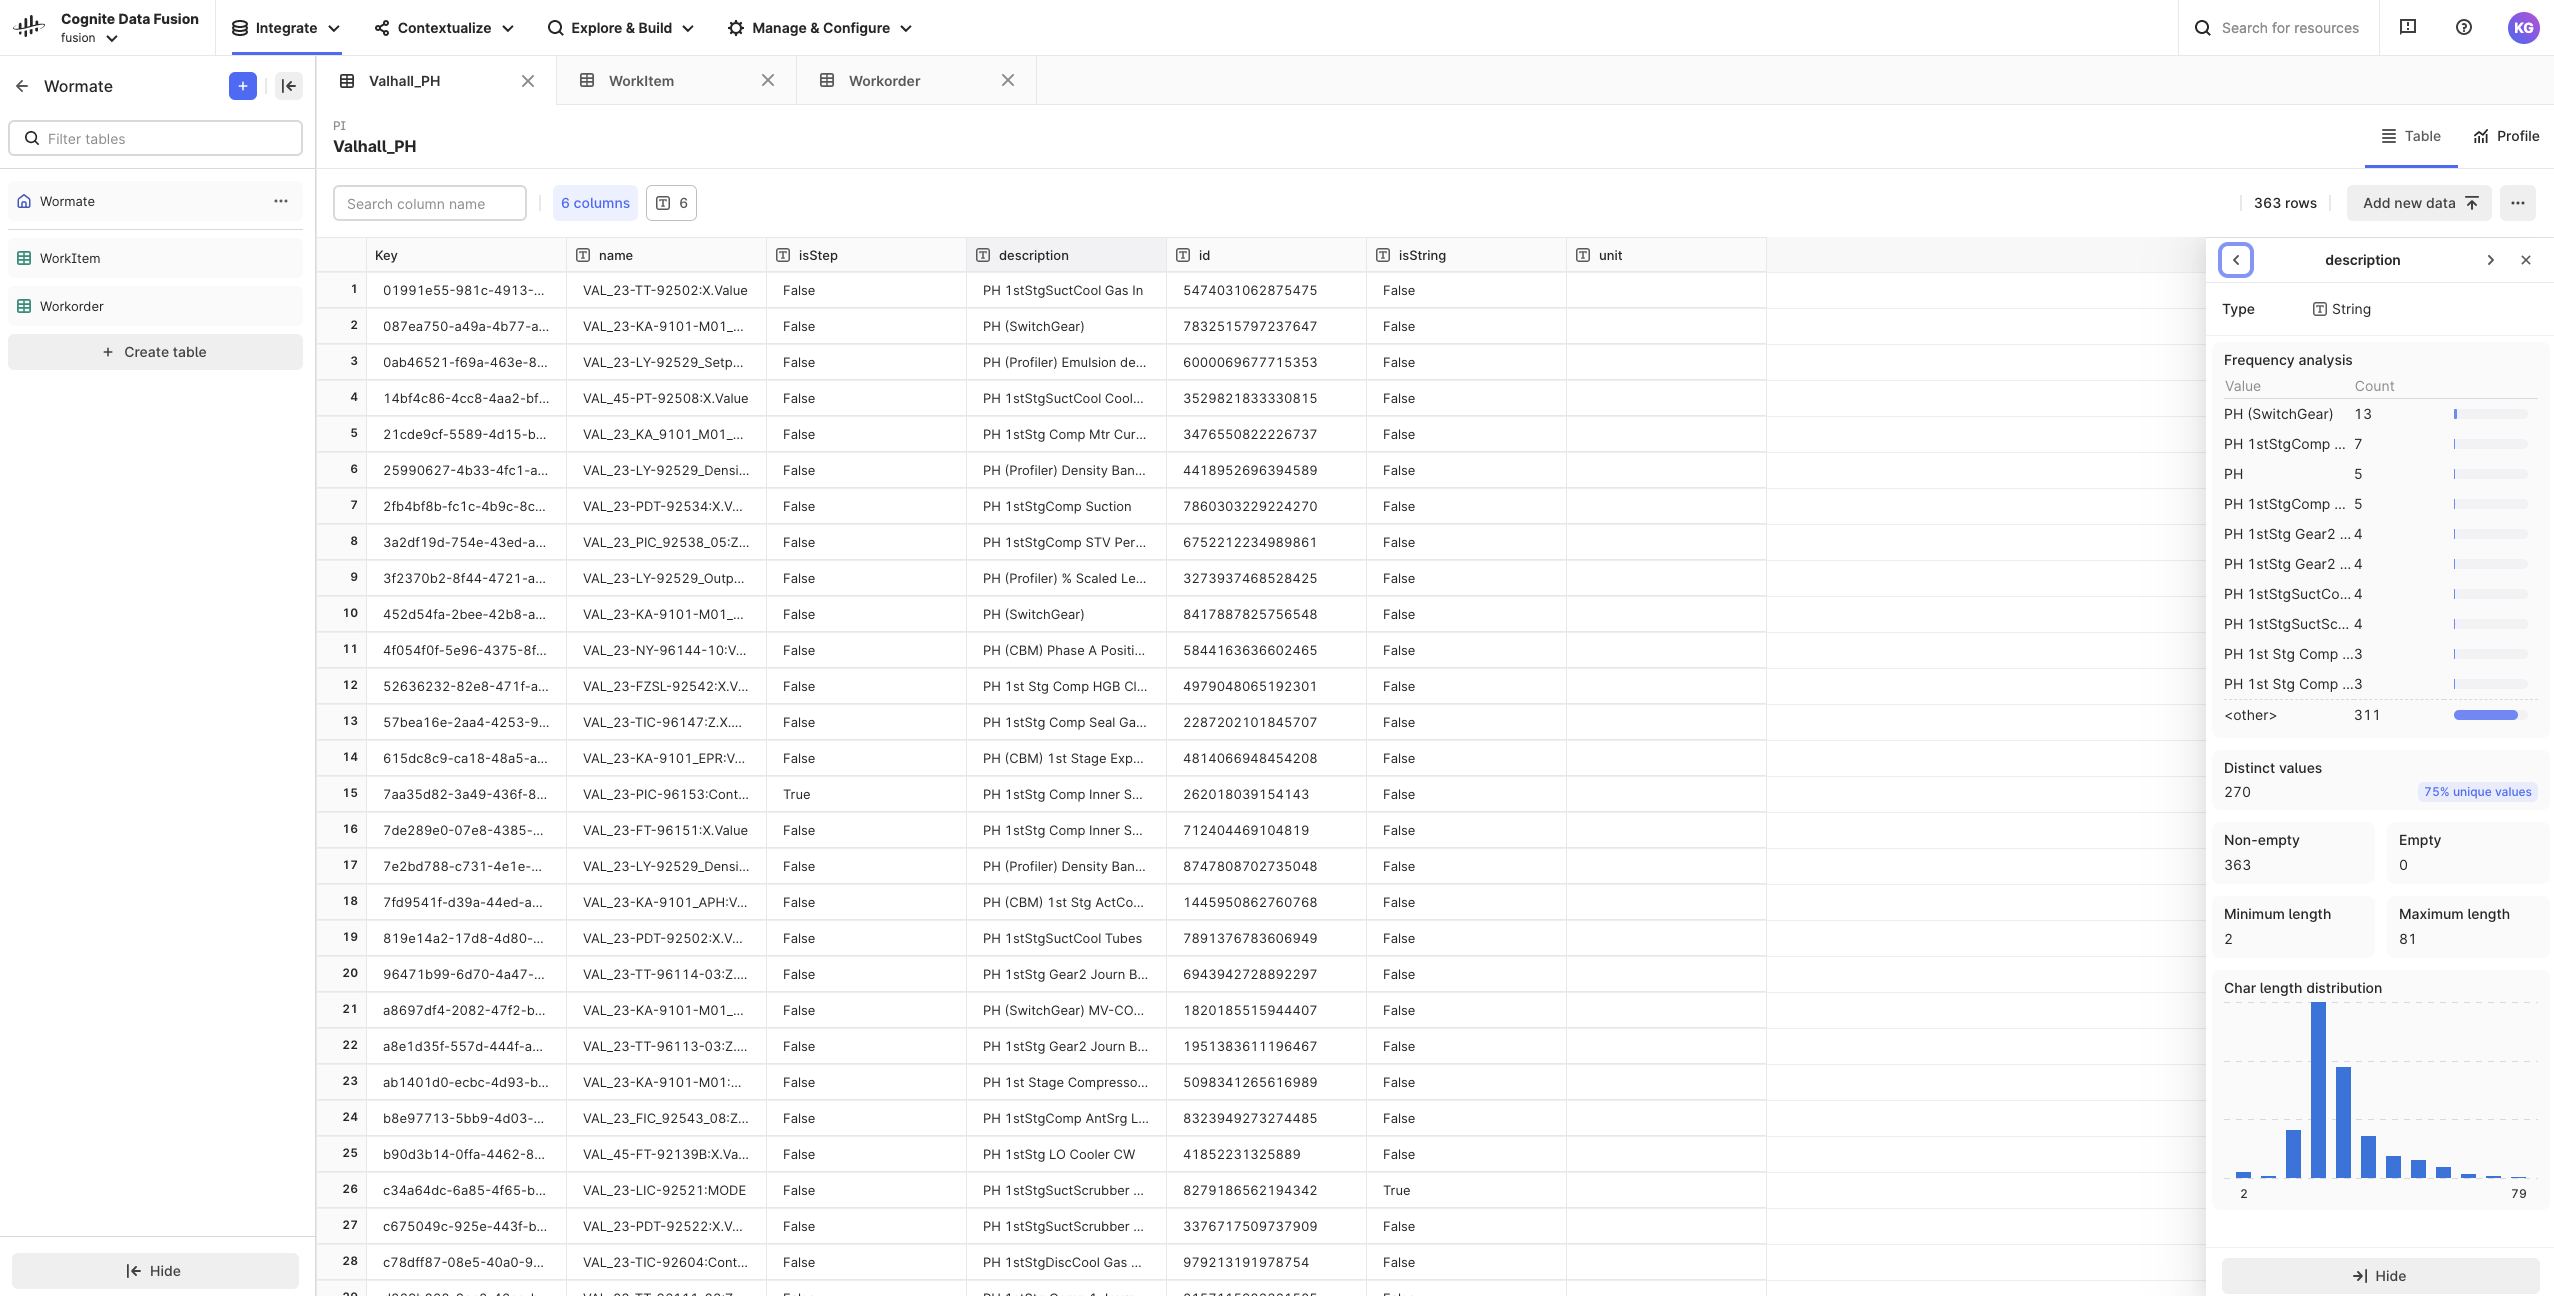
To spot anomalies or data that need cleanup before [transforming](/cdf/integration/guides/transformation/transformations) into the CDF data model, navigate to **Manage staged data** in CDF. You can view the ingested **tabular** data in a table or as a standard data profiling report in the **RAW explorer**.
Alternatively, you can transform the data in your cloud and bypass CDF RAW to integrate the data directly into the CDF data model.
 ## Before you start
To stage data in CDF RAW, you need the capabilities listed [here](/cdf/access/guides/capabilities#staged-data).
Contact your CDF project admin if you don't have the necessary capabilities.
## Set up databases and tables in CDF RAW
Use the **RAW explorer** to set up databases and tables before ingesting data in its **original form**. Keeping the original form of the data reduces the load on the source systems, allows you to minimize logic in the extractors, and makes it easy to re-run transformations on data in the cloud.
The example below shows how you can upload files in CSV or JSON format to CDF RAW.
Navigate to Data fusion > Integrate > Staging.
Select **Create database**, enter a unique **name**, and select **Create**. Note that you can't rename a database.
Select **Create table**, enter a unique **name**, and select **Create**. Note that you can't rename a table.
Select **Upload CSV or JSON** and drag or upload a file in CSV or JSON format.
Select the **primary key** column. This column can only contain unique values and you can't change this when it's set. Alternatively, you can select **Generate a new key column** that generates a unique key per row in your table.
If you use a non-unique column as the primary key, you might risk losing data.
If you're unsure which primary key to use and want to simulate different scenarios, upload the same file to different tables using separate tabs in your browser.
## Data profiling and data viewing
Discover patterns and outliers, and see other statistics on the **Profile** tab to get in-depth knowledge about the data quality. You can also view the actual data and sort and filter each column on the **Table** tab.
Report your findings to the data owners to find the best fit for the primary key column and contextualization and to provide the best support for the end-users of the data. Keep iterating on the data integrations to improve the data quality and prepare the data transformation into the CDF data model. See [Transform data](/cdf/integration/guides/transformation/transformations) to get started. Profiling has a maximum limit of 1 million rows per table. Rows exceeding the limit won't be profiled.
## Before you start
To stage data in CDF RAW, you need the capabilities listed [here](/cdf/access/guides/capabilities#staged-data).
Contact your CDF project admin if you don't have the necessary capabilities.
## Set up databases and tables in CDF RAW
Use the **RAW explorer** to set up databases and tables before ingesting data in its **original form**. Keeping the original form of the data reduces the load on the source systems, allows you to minimize logic in the extractors, and makes it easy to re-run transformations on data in the cloud.
The example below shows how you can upload files in CSV or JSON format to CDF RAW.
Navigate to Data fusion > Integrate > Staging.
Select **Create database**, enter a unique **name**, and select **Create**. Note that you can't rename a database.
Select **Create table**, enter a unique **name**, and select **Create**. Note that you can't rename a table.
Select **Upload CSV or JSON** and drag or upload a file in CSV or JSON format.
Select the **primary key** column. This column can only contain unique values and you can't change this when it's set. Alternatively, you can select **Generate a new key column** that generates a unique key per row in your table.
If you use a non-unique column as the primary key, you might risk losing data.
If you're unsure which primary key to use and want to simulate different scenarios, upload the same file to different tables using separate tabs in your browser.
## Data profiling and data viewing
Discover patterns and outliers, and see other statistics on the **Profile** tab to get in-depth knowledge about the data quality. You can also view the actual data and sort and filter each column on the **Table** tab.
Report your findings to the data owners to find the best fit for the primary key column and contextualization and to provide the best support for the end-users of the data. Keep iterating on the data integrations to improve the data quality and prepare the data transformation into the CDF data model. See [Transform data](/cdf/integration/guides/transformation/transformations) to get started. Profiling has a maximum limit of 1 million rows per table. Rows exceeding the limit won't be profiled.